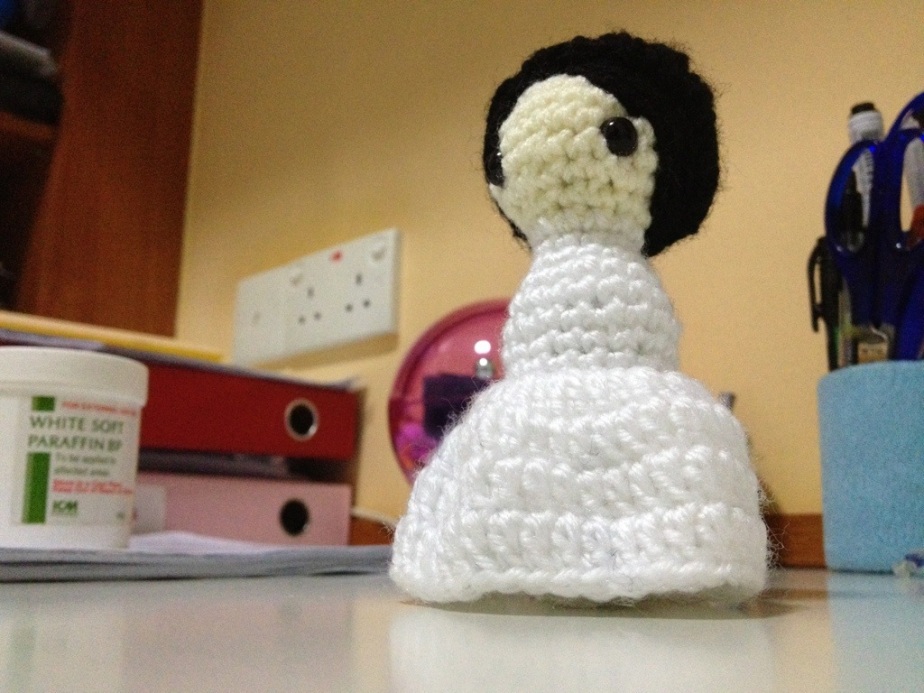
Yeah~ finally finished the wedding doll I was making. It looks… rather… well… I was expecting it to be more elegant and everything else… *sigh* (sometimes skills and expectations don’t meet)
Do not sell this pattern. If you wish to distribute this pattern [free of charge] either in print or on other web sites please provide a link to this original post.
Abbreviations
Ch -Chain
Dec- Decrease
Inc- increase
Rnd- round
Rep- Repeat
Sc- Single Crochet
Dc – double crochet
Sc2tog- Single Crochet 2 together (a decreasing st)
Sl st- Slip Stitch
St(s)- Stitch(es)
[ ]- Sets apart a group of stitches to be repeated as a whole
Material
-yarn: black, white and flesh colour
-crochet hook
-stuffing
-safety eyes (size you deem appropriate)
Head/body
R1: flesh colour yarn, magic ring work 5 in ring. Do not join. Insert stitch marker. (5)
R2: [2 sc in the each st] 5 times (10)
R3: [sc in next st, 2 sc in next st] 5 times (15)
R4: [sc in next 2 st, 2 sc in next st] 5 times (20)
R5: [sc in next 3 st, 2 sc in next st] 5 times (25)
R6: [sc in each st] (25)
R7: [sc in each st] (25)
R8: [sc in next 3 st, sc2tog] 5 times (20)
Insert stuffing and eyes
R9: [sc in next 2 st, sc2tog] 5 times (15)
R10: [sc in next 1 st, sc2tog] 5 times (10) change colour to white
R11: [sc in each st] (10)
R12: [sc in each st] (10)
R13: [sc in next 2 st, 2 sc in next st] 3 times, 1 sc (13)
R14: [sc in each st] (13)
R15: [sc in next 2 st, 2 sc in next st] 4times, 1 sc (17)
R16: [sc in each st] (17)
R17: [sc in next 2 st, sc2tog] 4 times, 1 st (13)
R18: [sc in next 2 st, sc2tog] 3 times, 1 sc (10) *remember this row. The skirt is going to start here*
R19 to R26: Continue sc in each st[10]
Finish stuffing doll
Bottom:
R1: Using white coloured yarn, magic ring, work 5 sc into ring (5) Do not join
R2: [2 sc in the each st] 5 times (10)
Join this to the base of the head/body
Skirt:
R1: In the outer loops of Round 18 of the torso [Join the white yarn, and sc in each st around] —- 10 sts.
R2: chain 3, [dc in next 2 st, 2dc in next st] 3 times, 1 dc st — 13sts
R3: dc in each st (until the skirt reaches the ground)
Hair:
First you make the wig cap then you embroider the hair on. (I haven’t figured out the other methods of adding hair…)
-Wig cap
R1: black colour yarn, magic ring work 5 in ring. Do not join. Insert stitch marker. (5)
R2: [2 sc in the each st] 5 times (10)
R3: [sc in next st, 2 sc in next st] 5 times (15)
R4: [sc in next 2 st, 2 sc in next st] 5 times (20)
R5: [sc in next 3 st, 2 sc in next st] 5 times (25)
R6: [sc in each st] (25)
Sew this onto head. Start embroidering from where you want the hair to part.
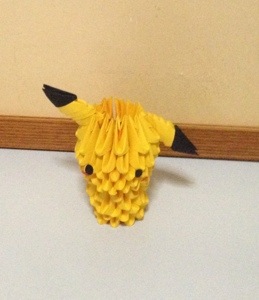
How everything looks like without the bun.
-bun
R1: black colour yarn, magic ring work 5 in ring. Do not join. Insert stitch marker. (5) do not tighten all the way. (You will be embroidering through the hole. So you would want to keep it loose)
R2: [2 sc in the each st] 5 times (10)
R3: [sc in next st, 2 sc in next st] 5 times (15)
R4: [sc in each st] (15)
R5: [sc in next 2 st, sc2tog] 5 times (10)
R6: [sc2tog] 5 times (15)
Start embroidering!
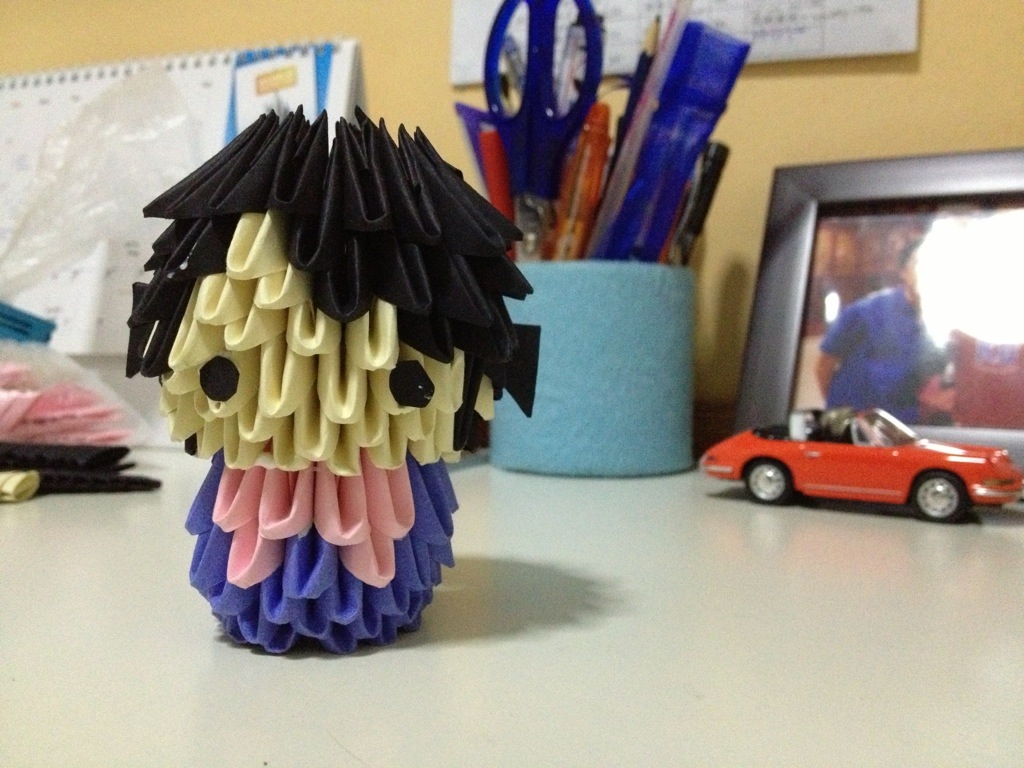
How doll looks with bun attached:


Hahaha! If you are wondering how I attached the hair bun to the head, I used glue ^_^ (it takes less effort)
For the finishing touches, you could give it a touch of pink cheeks (well I generally give it a blush for females -> so people can tell it is a female doll…) and eyelash (I do it the lazy way. I use permanent markers to draw them on)
I will be doing the groom to match the bride soon ^_^ so stay tuned!
If you like this, please subscribe for more.
P.s: a male classmate told me that my crocheted dolls looked like voodoo dolls. The urge to do something horrible was almost overwhelming. Gah I absolutely dislike those people >;( Has this ever happened to anyone else? (or is it just me?)